Bagaimana Cara Membuat Website
Bagaimana Cara Membuat Website – Artikel/ tutorial berikut ini adalah untuk pemula atau orang yang baru belajar tentang website. Artikel ini tidak ditujukkan kepada webmaster/ webdesigner/ webdeveloper yang sudah mempunyai pengalaman dan sudah ahli pada bidang website dan webdesign.
Disini saya akan mencoba berbagi tips dan trik kepada teman-teman untuk pembuatan website. Cara/langkah berikut merupakan cara menurut saya sesuai pengalaman. Cekidot gan!!=
1. Persiapkan Domain Name

Apa itu Domain?
Apa itu domain name? domain name adalah nama unik atau alamat yang diberikan untuk mengidentifikasi server. domain name juga sering disebut sebagai URL atau alamat website. Contoh domain name adalah ‘adisthana.com‘ .
Saran untuk pemilihan domain name :
- Sesuaikan nama domain dengan website yang akan anda buat. Contoh yang salah : nama domain misalnnya gwbolabanget.com , isi website membahas pilpres dan politik (ini ga nyambung banget, jadi jangan ditiru)
- Pilihlah domain yang mudah diingat
- Pilih nama domain yang menarik
- dan lain2
Ada banyak sekali website penyedia jasa domain name yang tersebar di internet. Anda bisa pilih salah satu. Setelah menentukan domain name, sekarang kita persiapkan hostingnya.
2. Web Hosting

Apa itu Web Hosting?
Apa itu Web Hosting? Web hosting dalam bahasa sederhana adalah tempat untuk menyimpan isi/file dari website. File bisa berbentuk script, gambar, audio, video dll. Web Hosting Provider pun juga banyak tersedia di internet. Anda bisa sesuaikan jangka waktu dan besar space hosting sesuai dengan keperluan anda. Jika anda masih dalam tahap belajar dan coba-coba , saya sarankan pake gratis dulu saja. Bisa search di google dengan keyword : “Free web hosting” atau “Web Hosting Free” atau “Web Hosting Gratis”
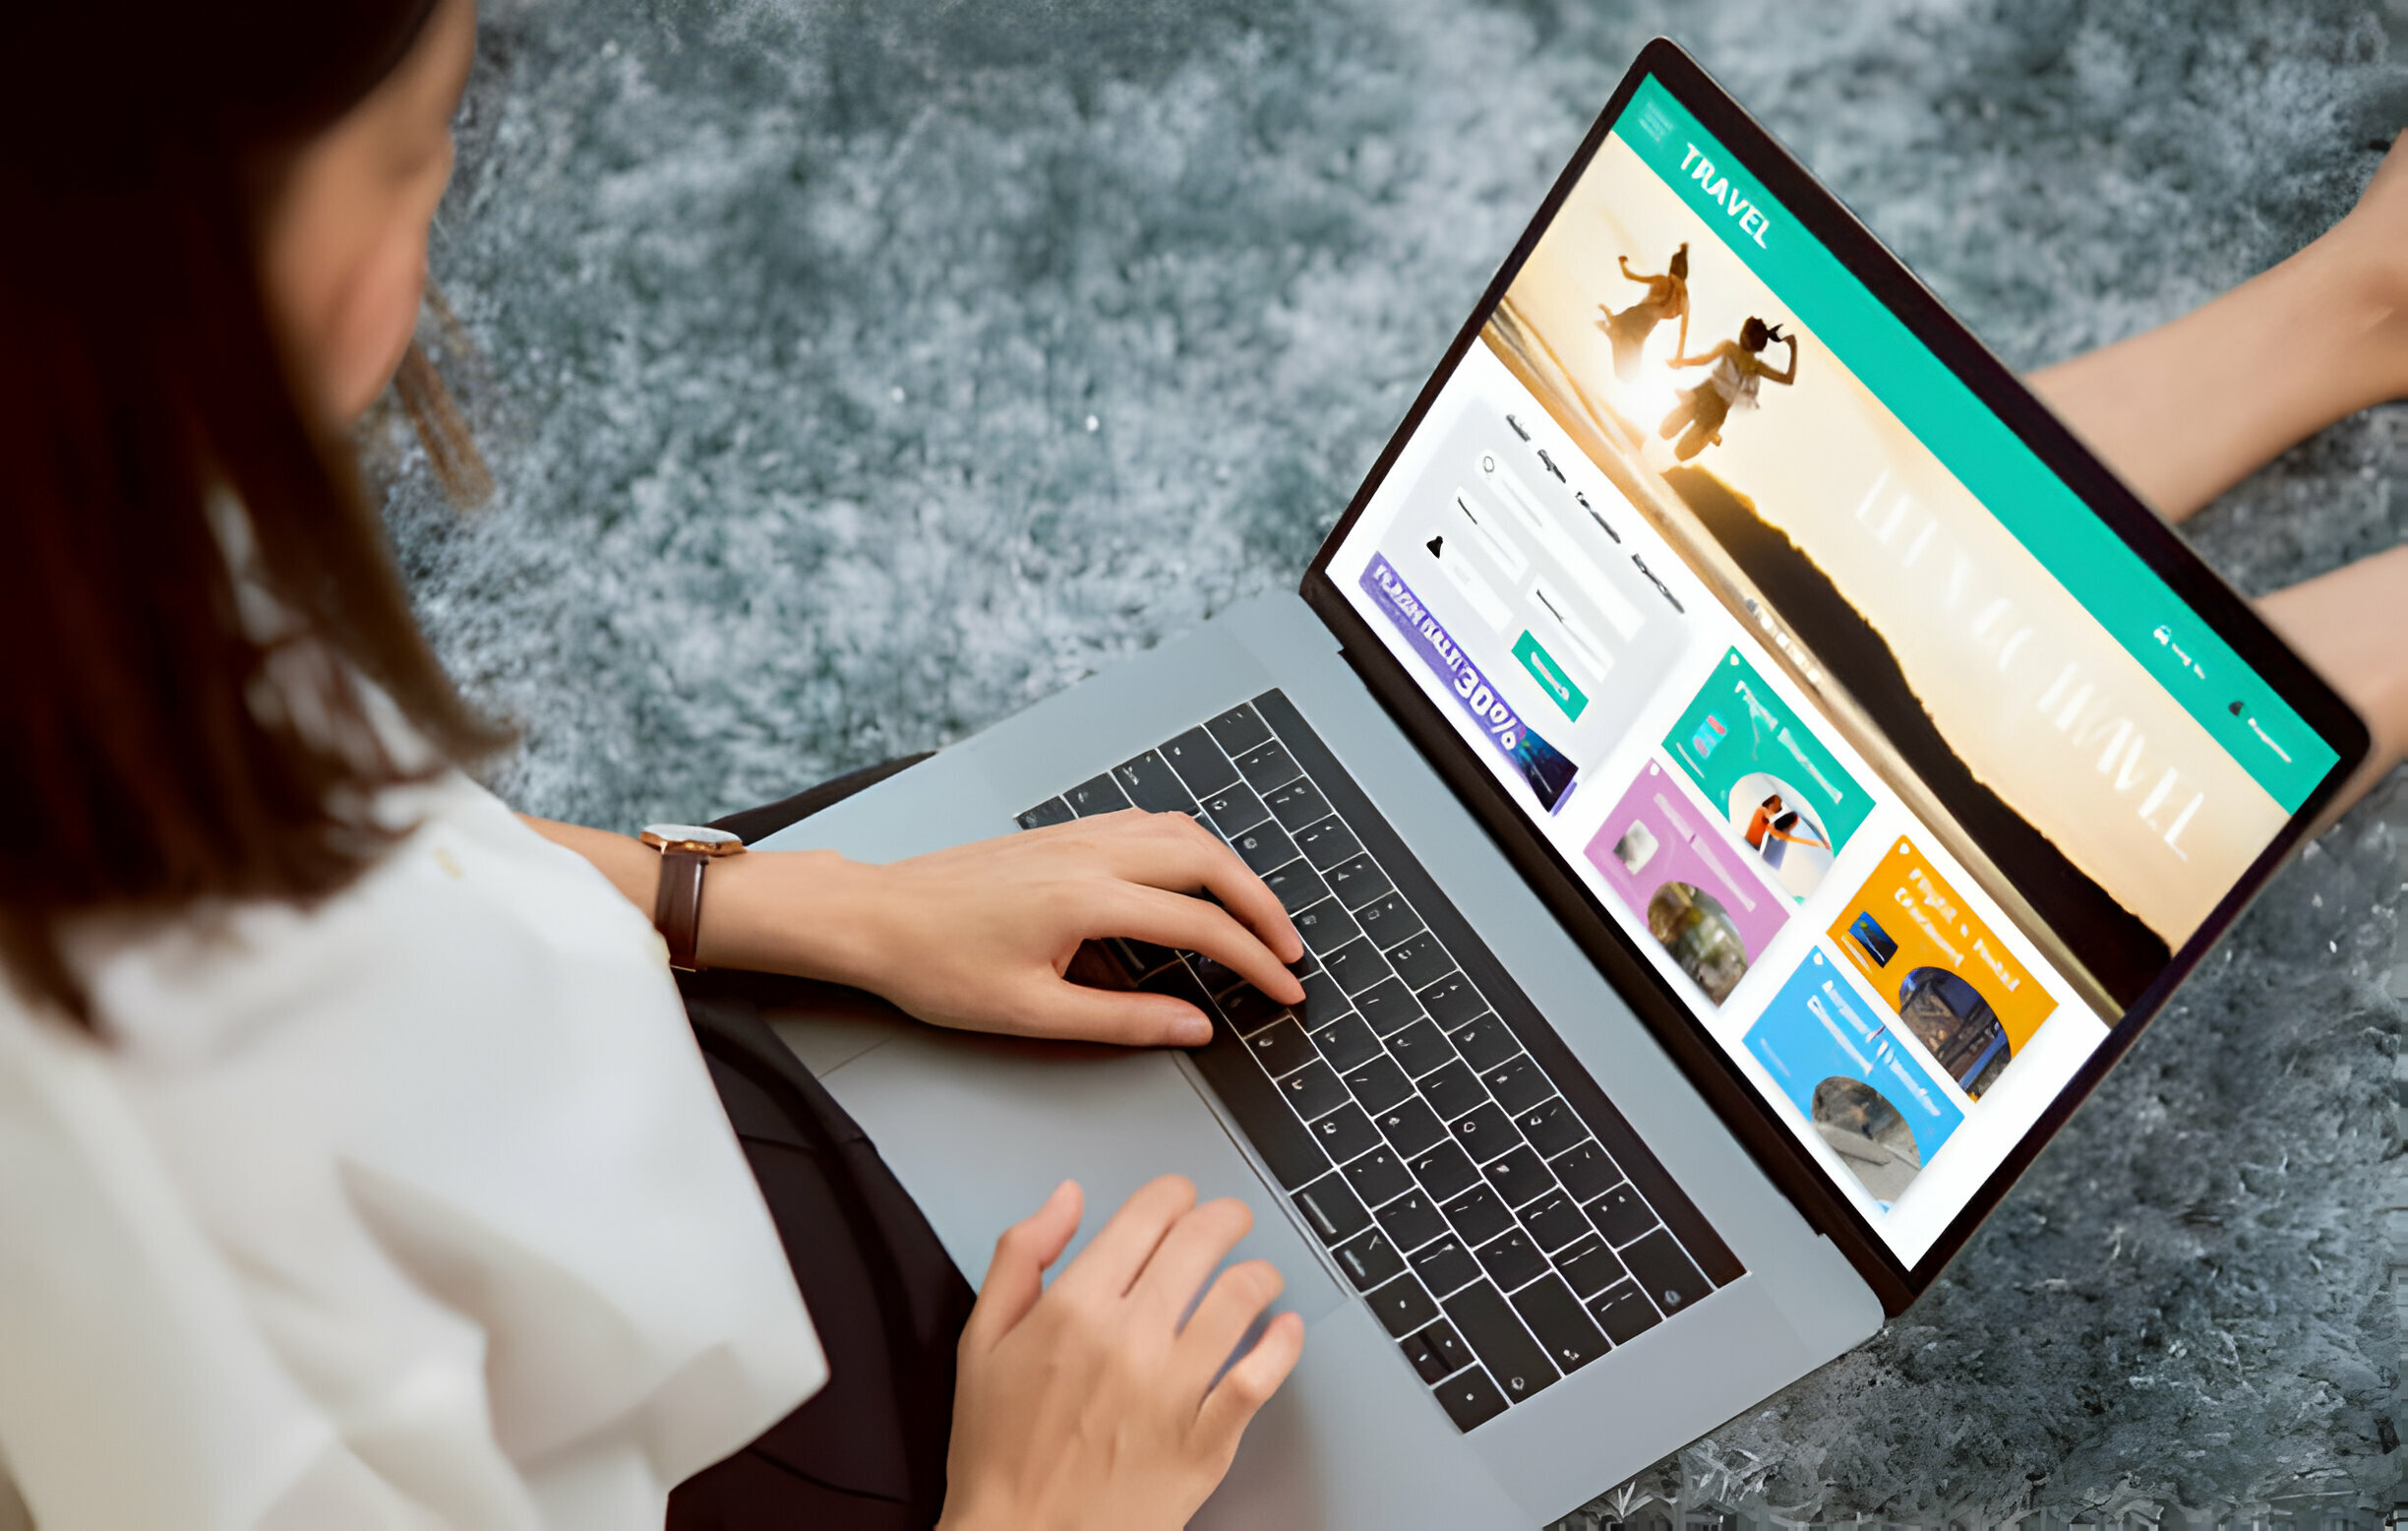
3. Web Builder

Contoh Website Builder
Web Builder disini adalah alat/tool yang akan kita gunakan dalam membangun website. Sebagai alternatif kita bisa menggunakan CMS open source yang tersedia seperti wordpress, joomla, magento dll. Penggunaan masing-masing CMS tergantung dari jenis website yang akan dibuat. Selain mudah dimengerti secara UI (User Interface), anda juga tidak perlu memahami tentang bahasa pemrograman (untuk pemula). Ingat, masing-masing CMS mempunyai kelebihan dan kekurangan masing-masing. Gunakanlah sesuai dengan keperluan anda. Pada setiap CMS akan terdapat backend (administrator area) dan frontend (area yang akan dilihat pengunjung website). Pada backend inilah anda bisa edit-edit content website semau anda.
Alamat sudah ada, hosting sudah siap, web builder sudah oke sekarang waktunya menentukan design untuk frontend website
4. Web Design
aw bali webdesign
Tahapan ini adalah tahapan yang paling seru karena kita akan menentukan design apa yang akan kita gunakan pada website kita. Design website sangat mempengaruhi traffic pada website.
Jika anda menggunakan CMS Open Source tentu themes gratis nya juga akan banyak tersedia di internet. Sesuaikan themes dengan calon pengunjung website. Misal jika website bertemakan ‘Remaja’ pilih warna yang ramai pada bagian header, untuk mencirikan sesuatu yang berani dan bersemangat. Gunakalah warna-warna seperti merah kuning hijau dll. Pokoknya biar semangat hehehe!!! Jangan lupa menempatkan slideshow pada halaman depan / homepage website. Jangan lupa juga memberi logo pada website anda. Tempatkan logo pada bagian header agar mudah dilihat dan diingat.
Dan yang paling penting, pilihlah template website yang responsive.
Responsive Web Design disini adalah design web yang menyesuaikan besar layar pengunjung. Jika dibuka melalui HP/mobile, tablet, laptop, pc dll themes website anda akan terlihat selalu bagus. Jadi pengunjung tidak perlu memperbesar/ zoom karena tidak akan ada tulisan yang terlalu kecil untuk dibaca.
Jika saya misalkan pembuatan website sangat mirip dengan pembuatan rumah. Bayangkan rumah adalah website, tanah tempat membangun rumah adalah hosting, alamat rumah adalah domain, dan desain rumah sama dengan web design. Analogi sederhana seperti itu akan lebih memudahkan anda dalam mengerti dan memahami tentang website dan web design.
Nah, setelah kamu mengikuti bagaimana cara membuat website, Selamat kamu baru saja berhasil membuat website. Next, kita akan bahas bagian-bagian penting dan mendasar dari sebuah website yang perlu kamu ketahui.
Semoga membantu 😀
